Pains de savon ton sur ton faits maison
#v15872
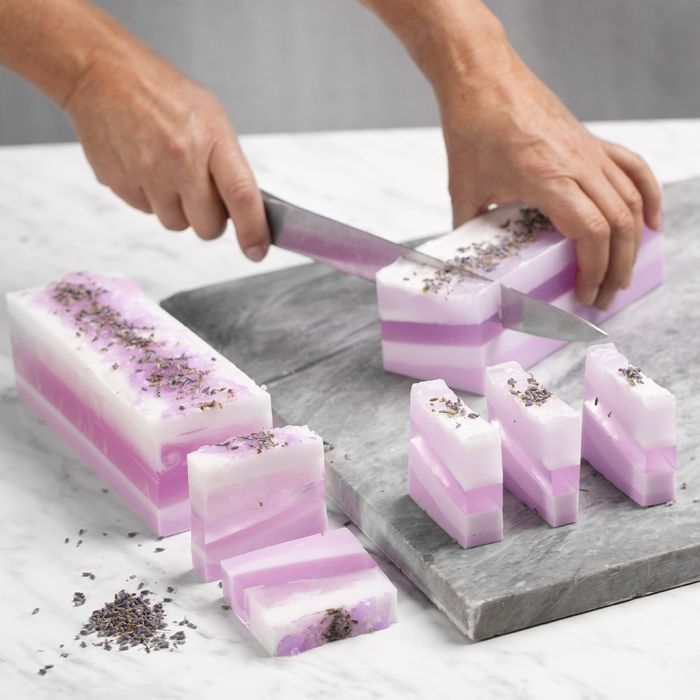
Fabriquez votre propre savon avec des couleurs ton sur ton. Préparez une grande barre de savon à partir de 1300 g de base de savon en suivant les instructions étape par étape. Coupez-la en 12 morceaux d'env. 2 cm de large. N'oubliez pas de placer votre pain de savon dans un porte-savon, en le laissant sécher entre chaque utilisation.
Comment faire Téléchargez nos instructions étape par étape
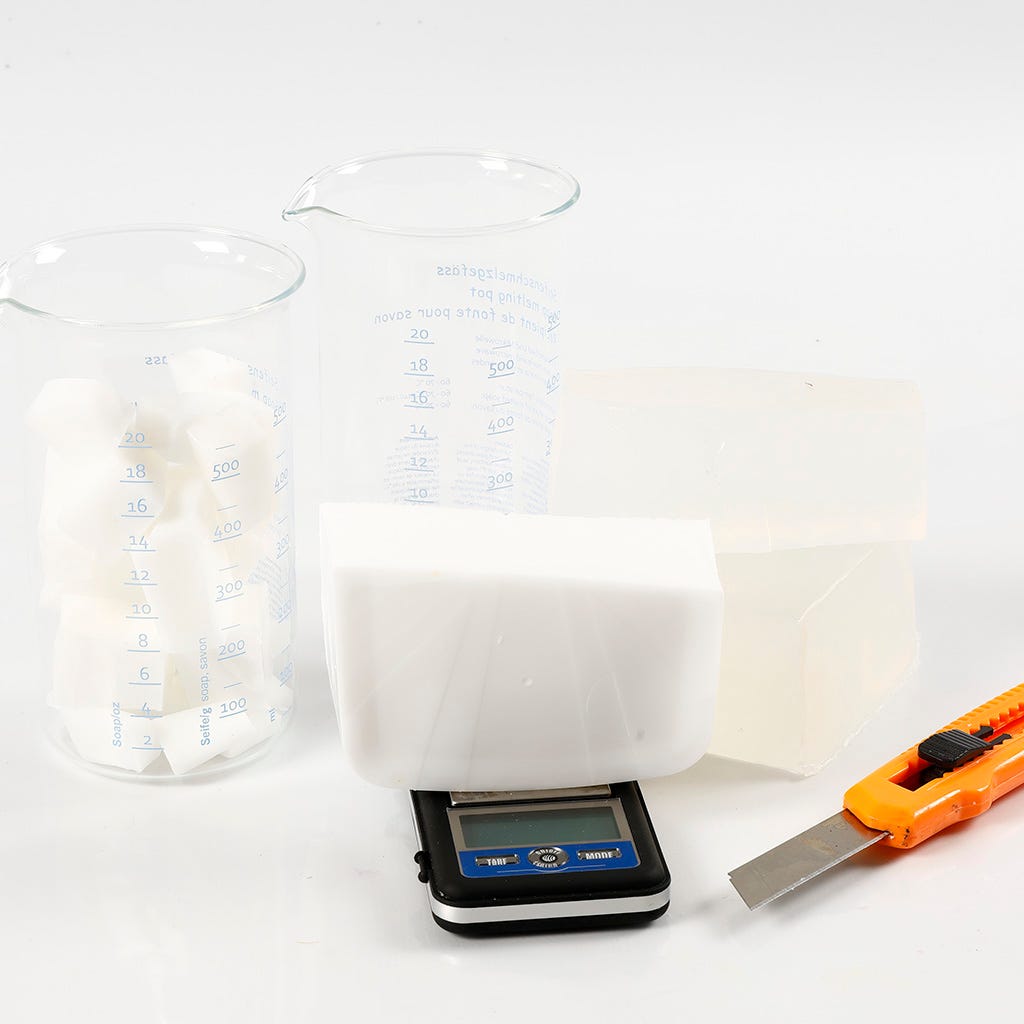
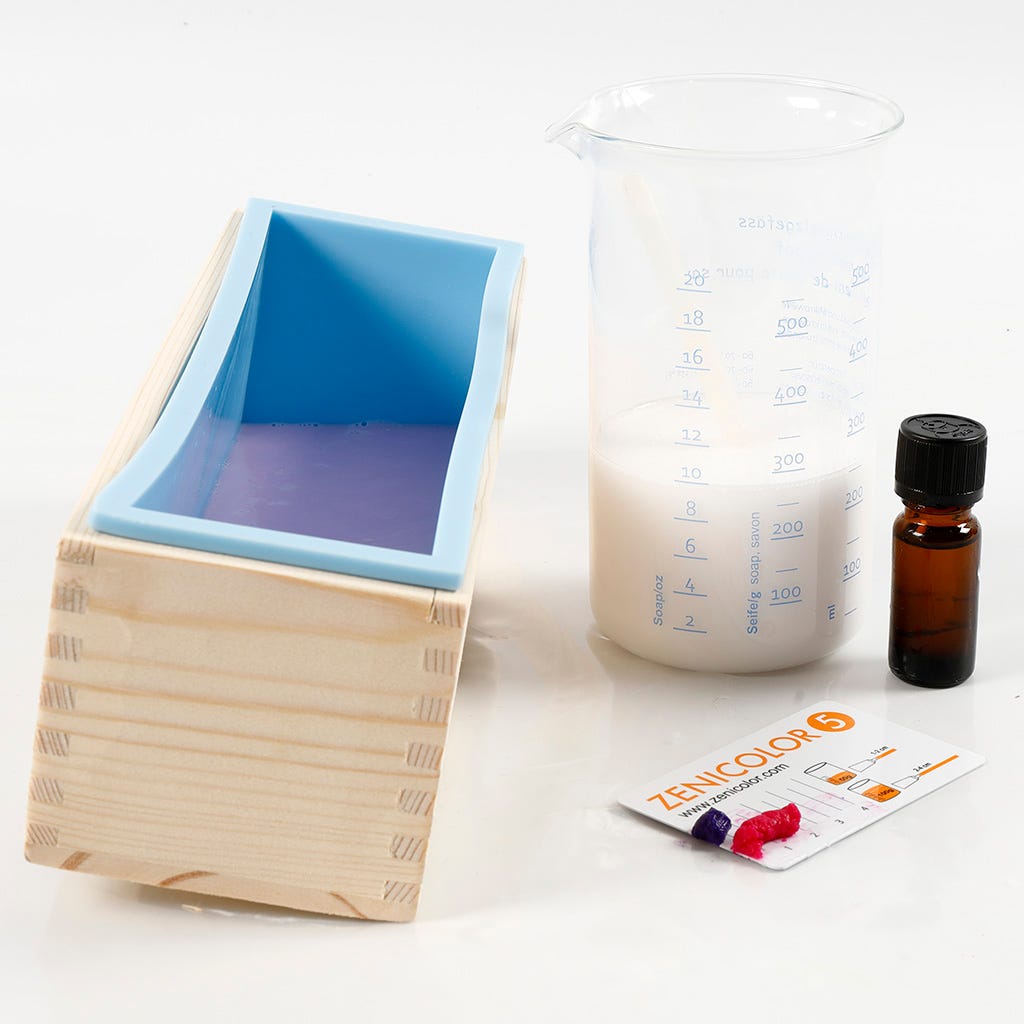
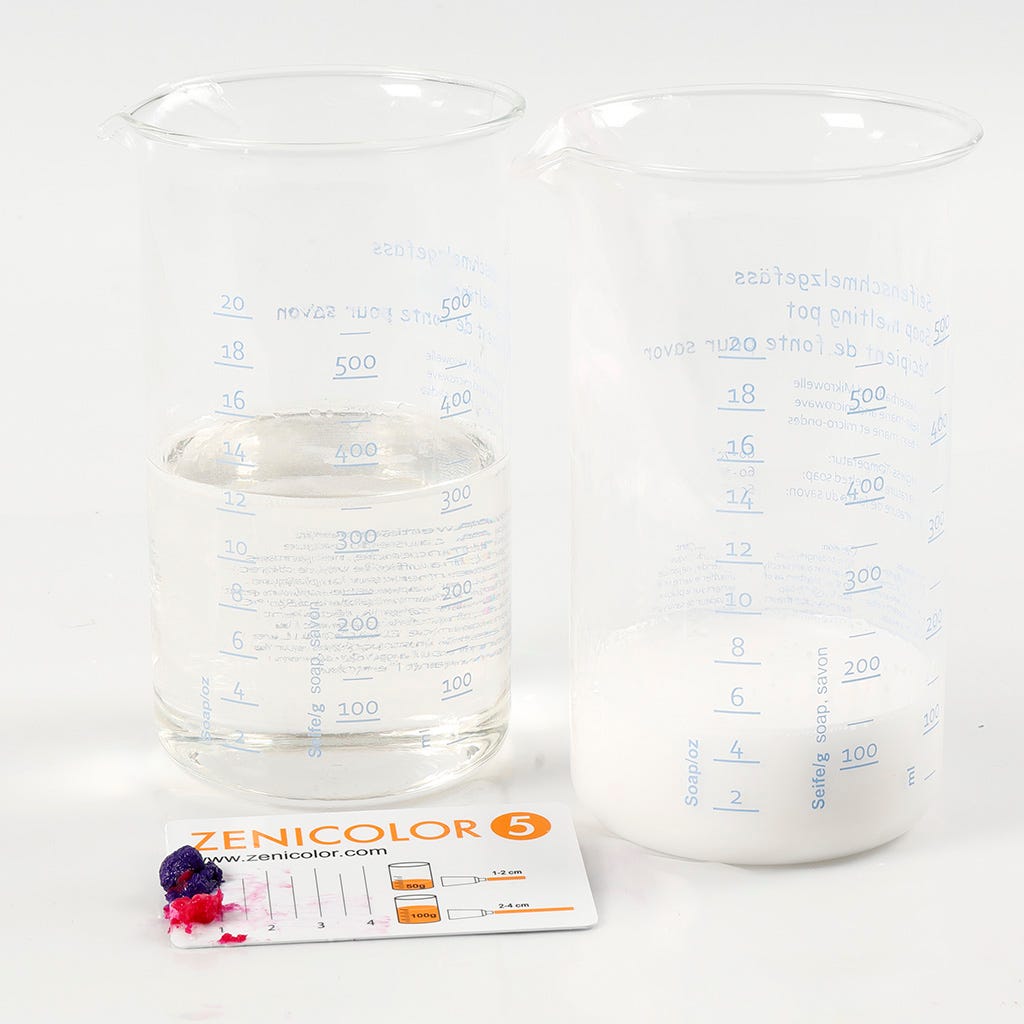
1 Pesez 650 g de base de savon blanc et 650 g de base de savon transparent. Nous vous recommandons d'utiliser des gants car la base de savon devient chaude et parce que l'huile essentielle de lavande est très concentrée.
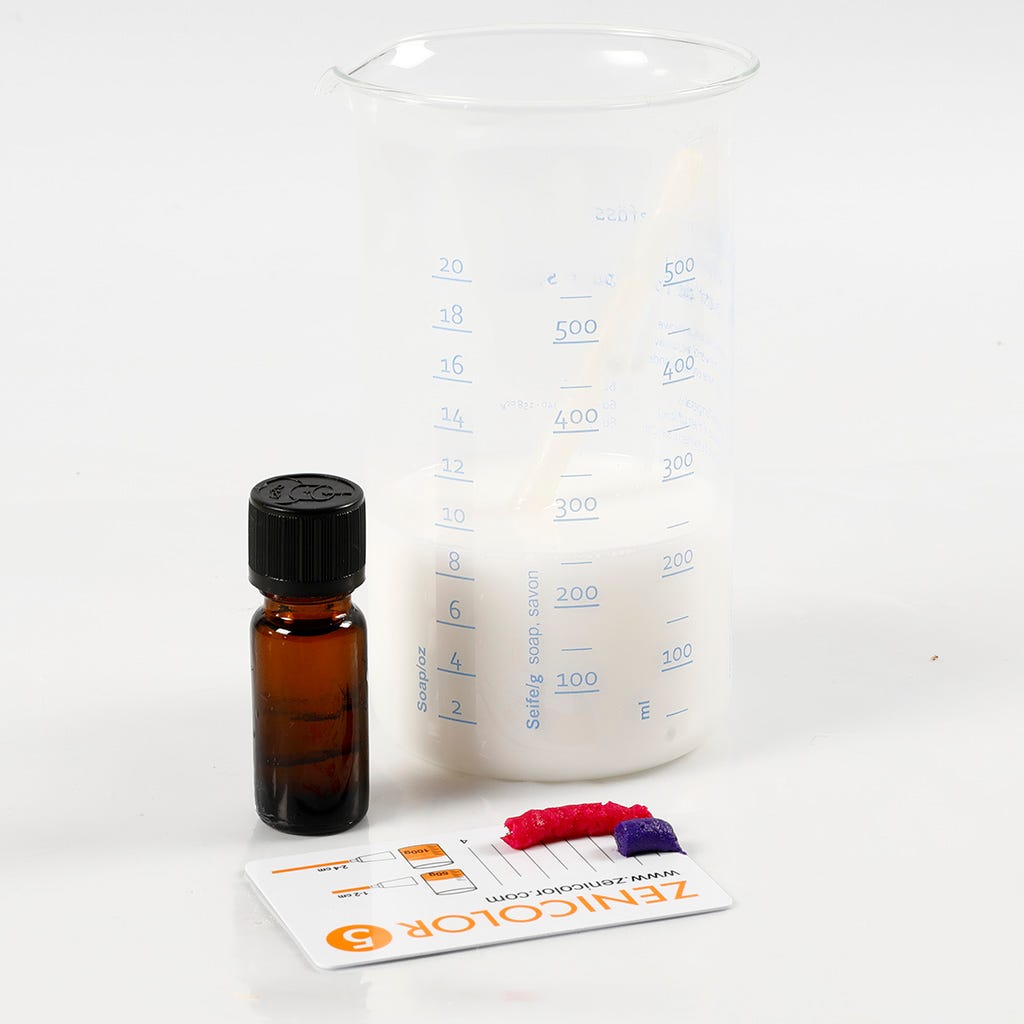
2 You can melt the soap base either in a water bath or in a microwave when it is cut into 3 x 3 cm chunks. Begin by melting 250 g white soap base in the microwave at 80% power with 30 second intervals and stir between each interval to prevent heat damage. Add 4 cm pink soap dye paste, 1 cm purple soap dye paste and 9 drops of lavender essential oil. Stir well.
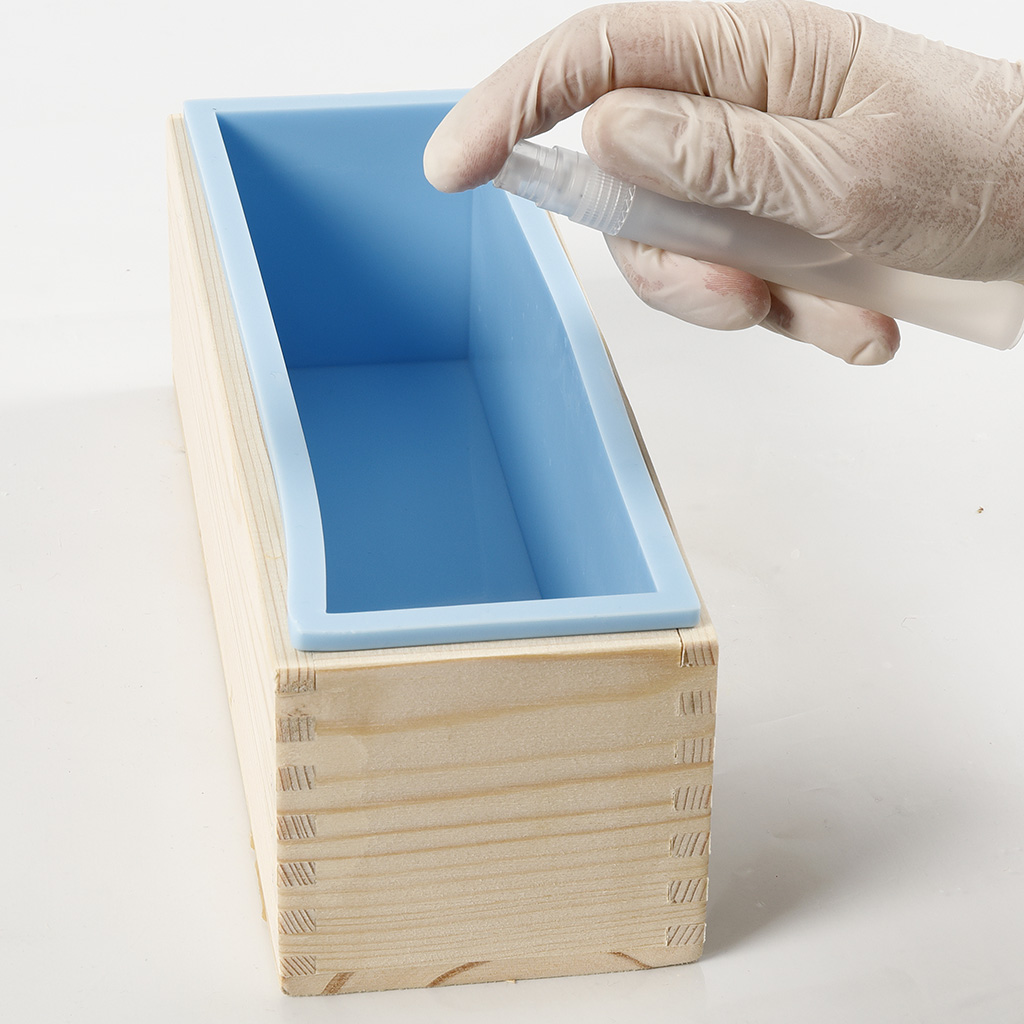
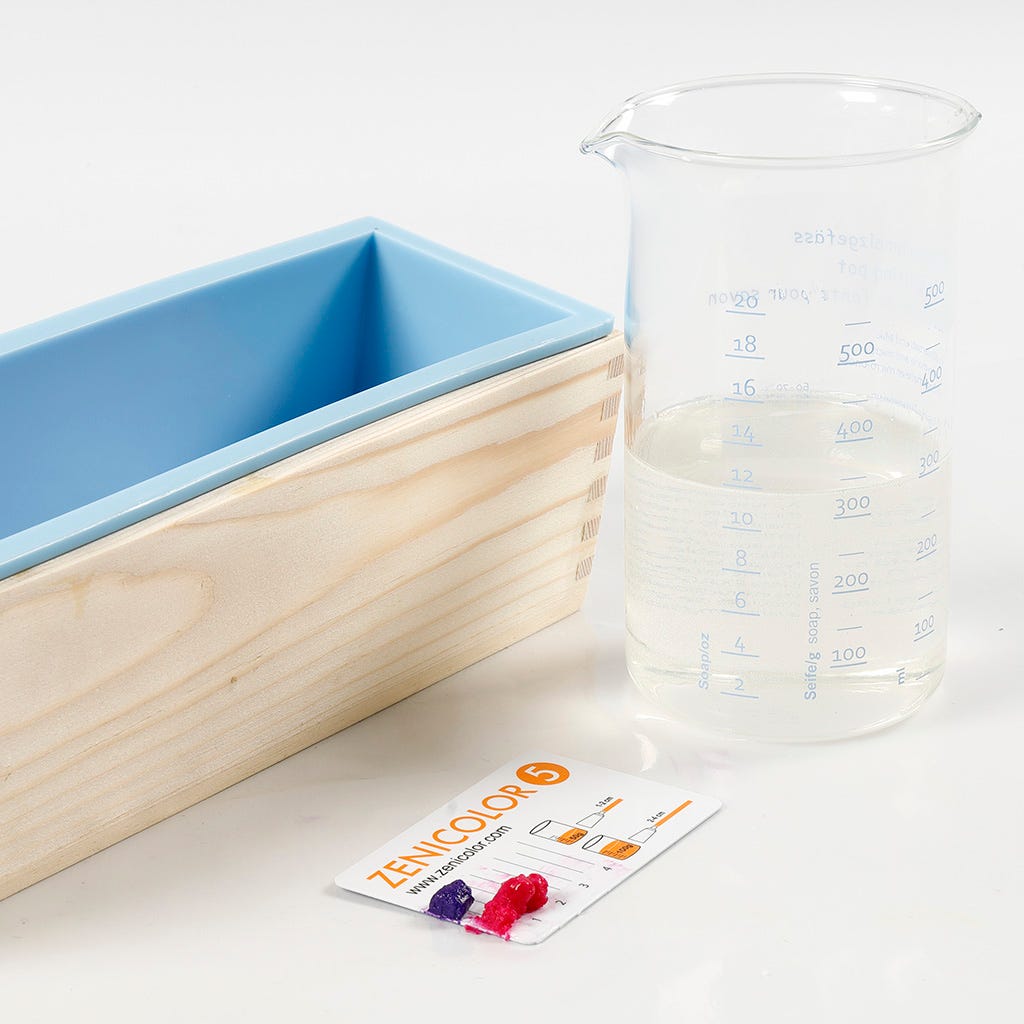
3 Wash the mould and spray it with rubbing alcohol. Leave to dry.
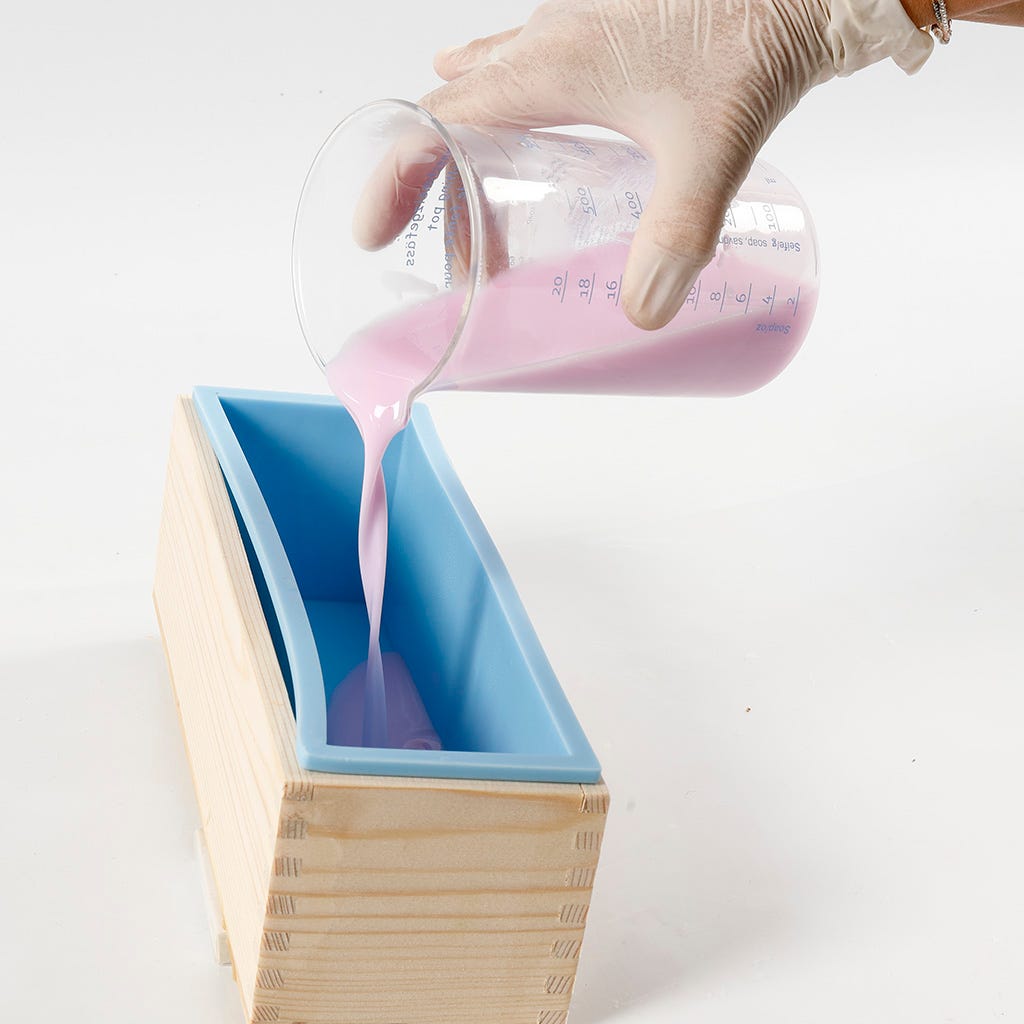
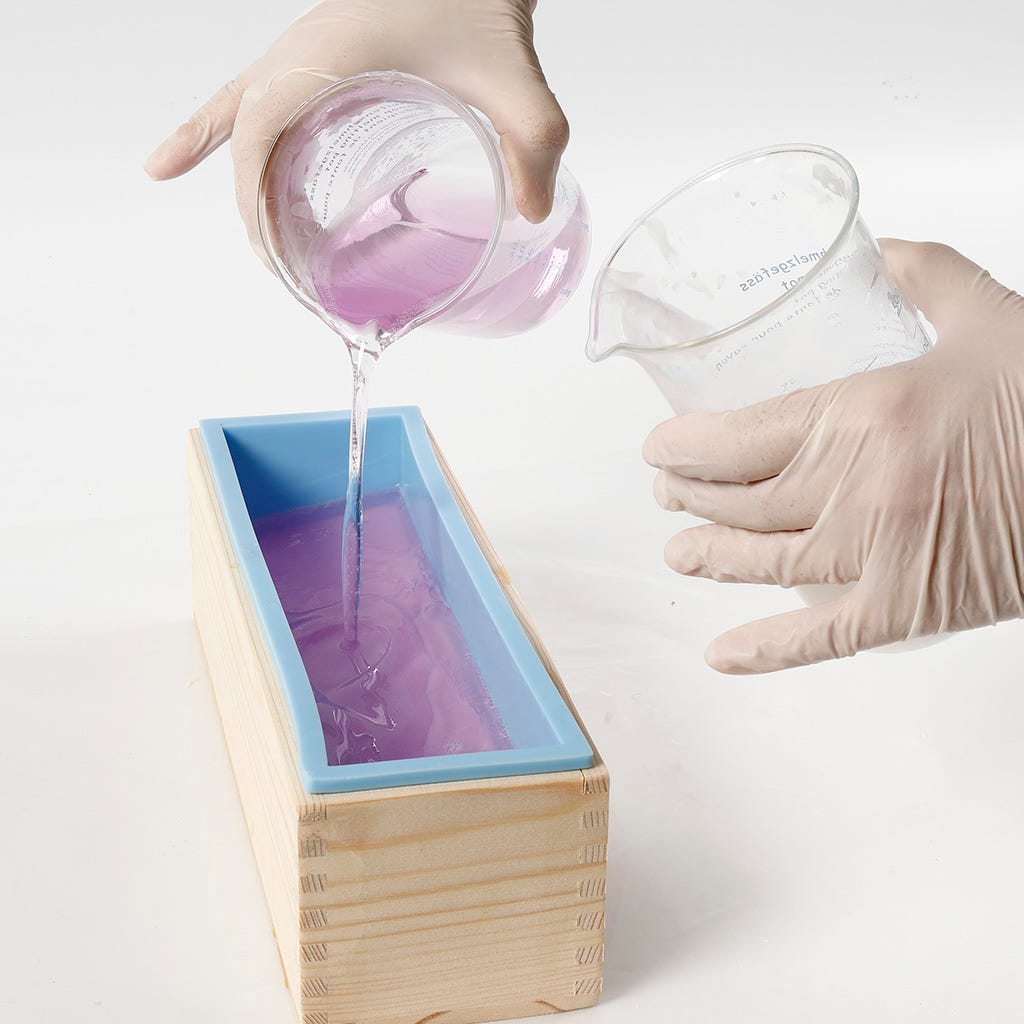
4 Lean the mould by 1 cm on one side. Pour in the coloured molten soap. Remove any air bubbles from the surface of each layer of molten soap by spraying with rubbing alcohol.
5 Melt another 250 g white soap base cut into 3 x 3 cm chunks in the microwave with 30 second intervals. Stir between each interval to prevent heat damage. Add 2 cm pink soap dye paste, 0.5 cm purple soap dye paste and 9 drops of lavender essential oil. Stir well.
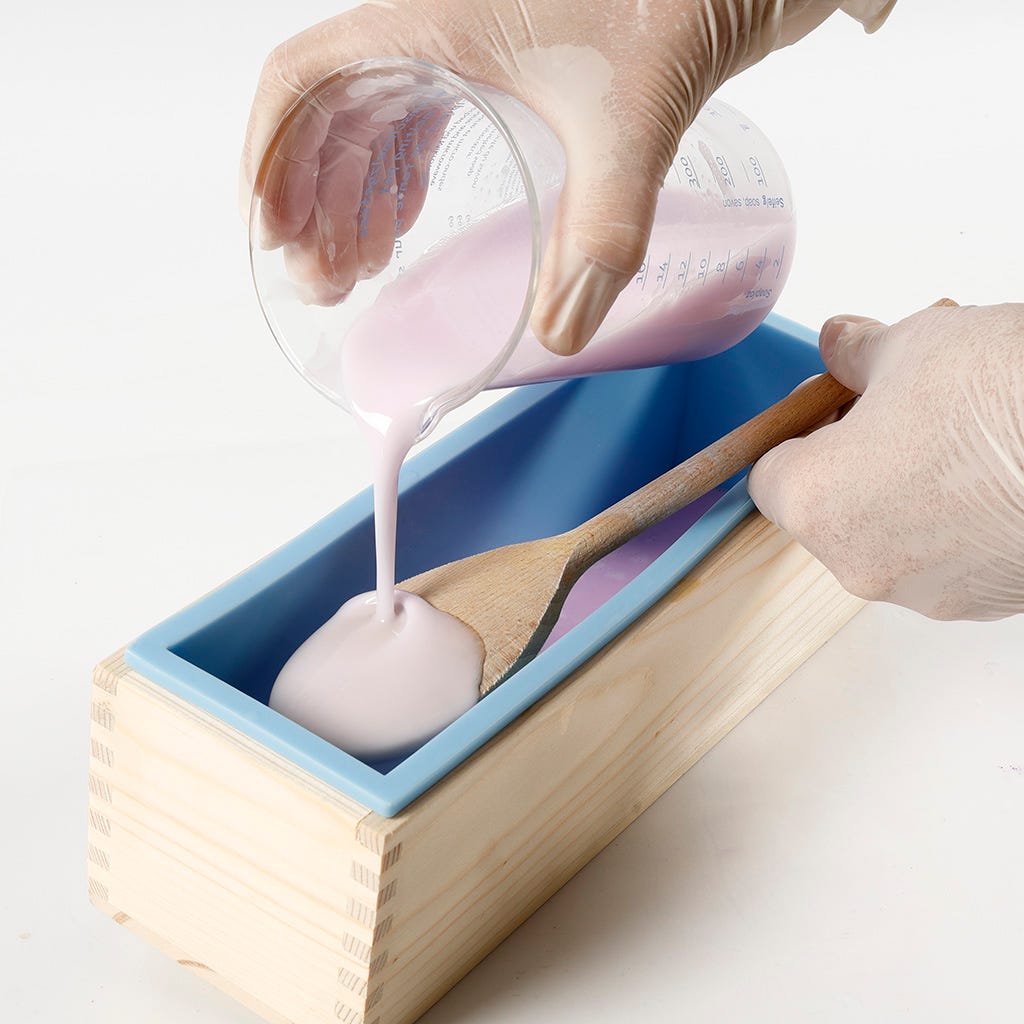
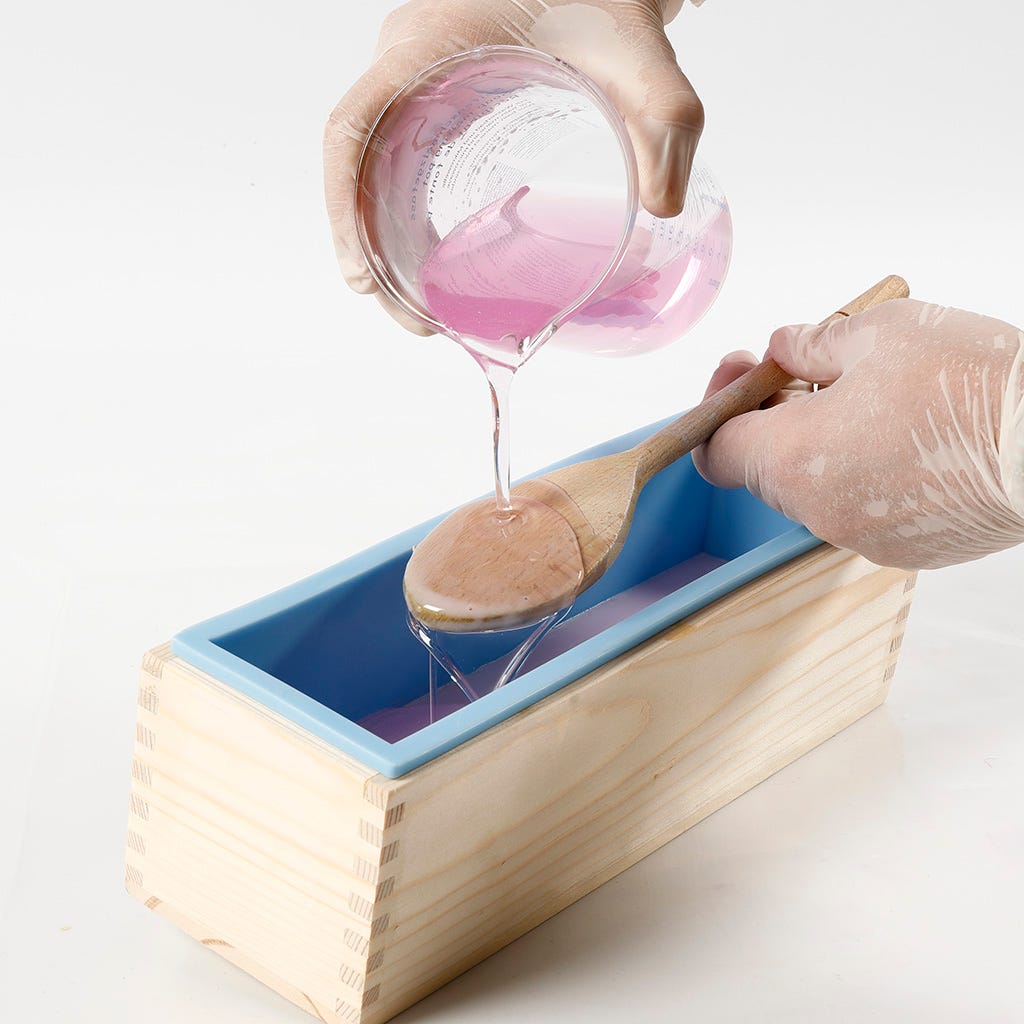
6 Pour the next layer of molten soap into the mould when the surface of the first layer of molten soap is dry. Carefully pour the next layer of molten soap using a spoon for spreading it as shown in the photo.
7 Melt 325 g transparent soap base cut into 3 x 3 cm chunks in the microwave with 30 second intervals. Stir between each interval to prevent heat damage. Add 1 cm pink soap dye paste, 0.5 cm purple soap dye paste and 9 drops of lavender essential oil. Stir well.
8 Pour the next layer of molten soap into the mould when the surface of the second layer of molten soap is dry. Carefully pour the next layer of molten soap using a spoon for spreading the it.
9 Melt 325 g transparent soap base and 150 g white soap base in two different containers. Cut the soap base into 3 x 3 cm chunks and melt in the microwave with 30 second intervals. Stir between each interval to prevent heat damage. Add 0.5 cm pink soap dye paste, 0.25 cm purple soap dye paste and 9 drops of lavender essential oil to the transparent soap base. Stir well. Do not add any soap dye paste to the white soap base, but add 4 drops of lavender essential oil and stir well.
10 Place the mould flat on the table once the molten soap is dry. Now pour the molten transparent soap into the mould when it is approx. 50°C. Save a small amount to use for decoration later.

11 Carefully pour 1/3 of the white molten soap into the transparent molten soap base in the mould. Use a wooden flower stick to slightly mix the colours to make a marbled effect. Both soap bases should be approx. 50°C. If the molten soap is too hot or too cold, the colours will become muddled together. Let the marbled layer set. Mix a small amount of purple soap dye paste with the next 1/3 of the white molten soap base and carefully pour into the mould using a wooden spoon.

12 Leave this layer to set and finish with a plain layer of the remaining 1/3 of molten white soap base. Carefully pour it into the mould using a wooden spoon but only along one half of the length of the mould as shown in the photo.
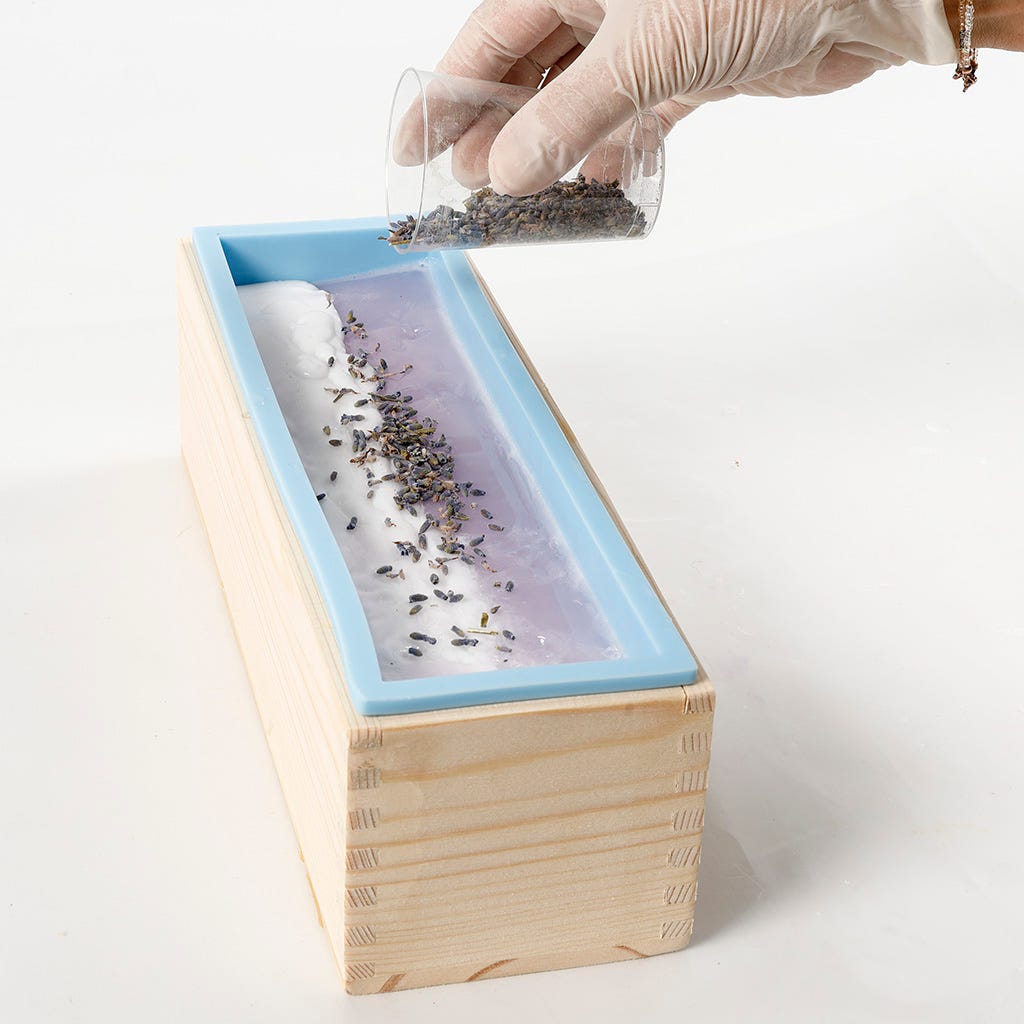
13 Sprinkle dried lavender onto the molten soap base whilst it is still soft, enabling you to slightly push the dried lavender into the surface. NB: if you are using dried flowers in the molten soap base, the colour may seep slightly into the soap which over time may turn slightly brown.
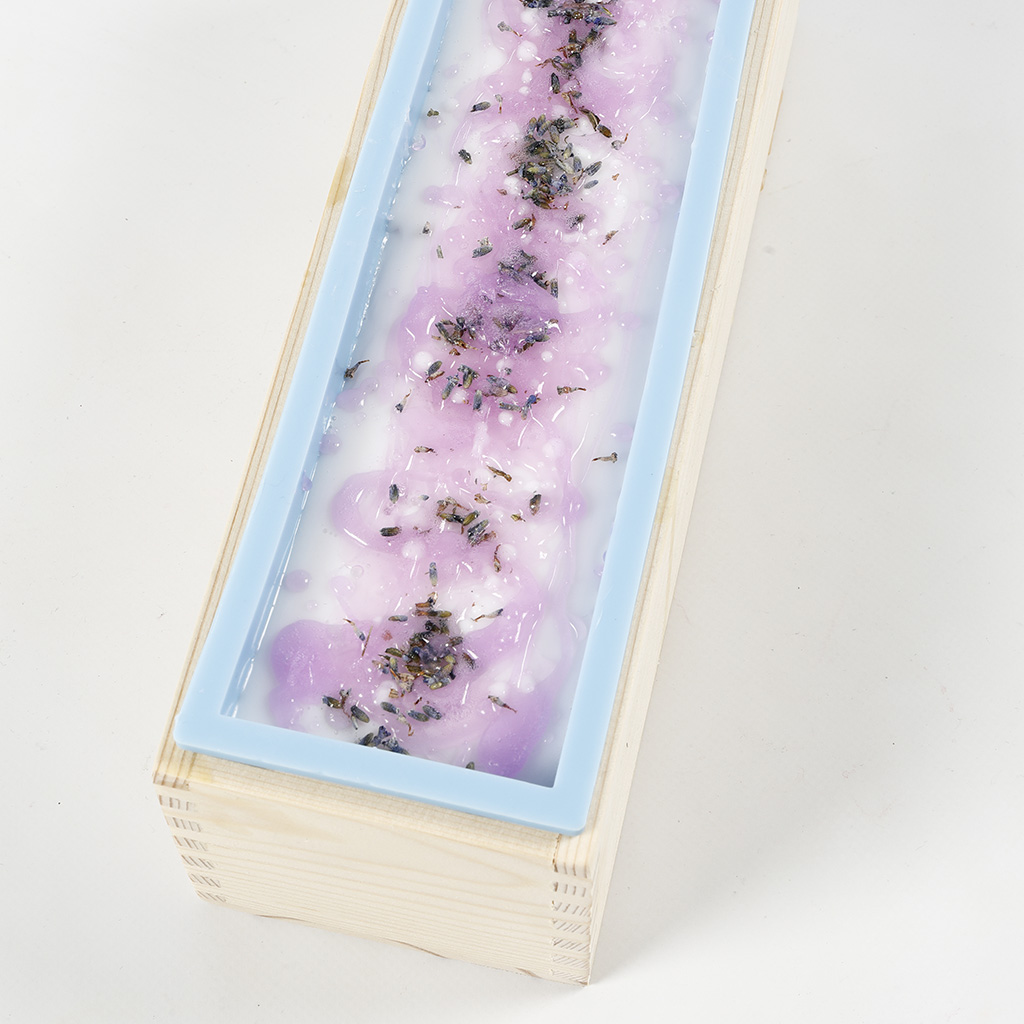
14 You may heat up the last little bit of the transparent pink soap base. Use this to make decorative patterns on the surface.

15 Cut slices of soap from the finished large bar of soap. Here is a cross section revealing the pattern.
Allez aussi explorer dans