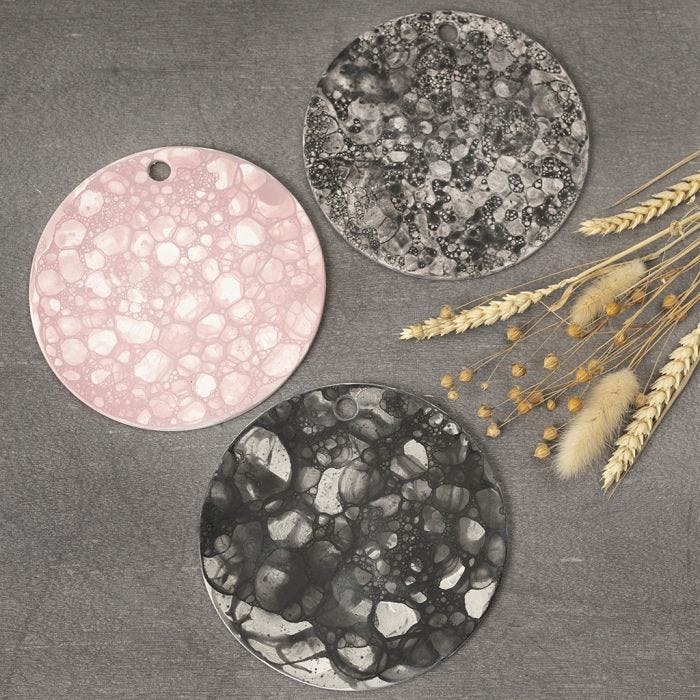
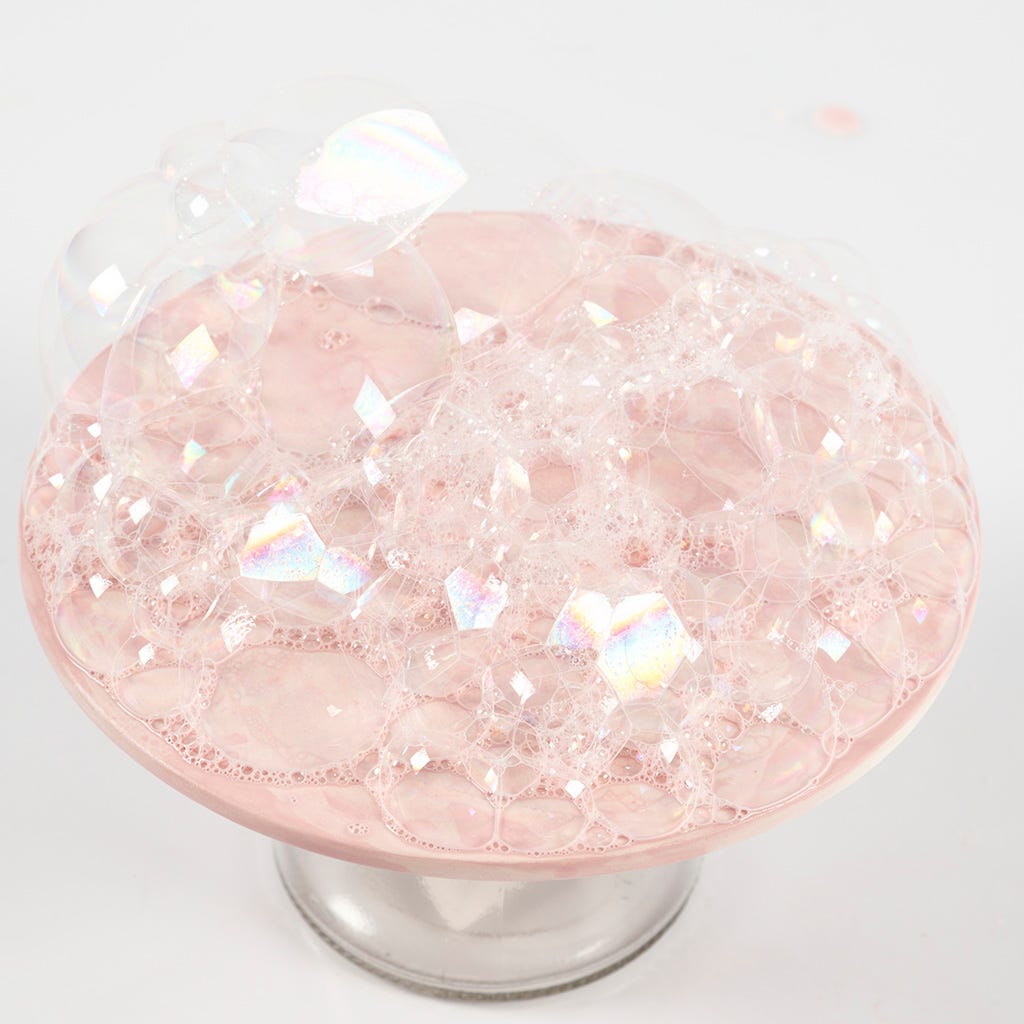
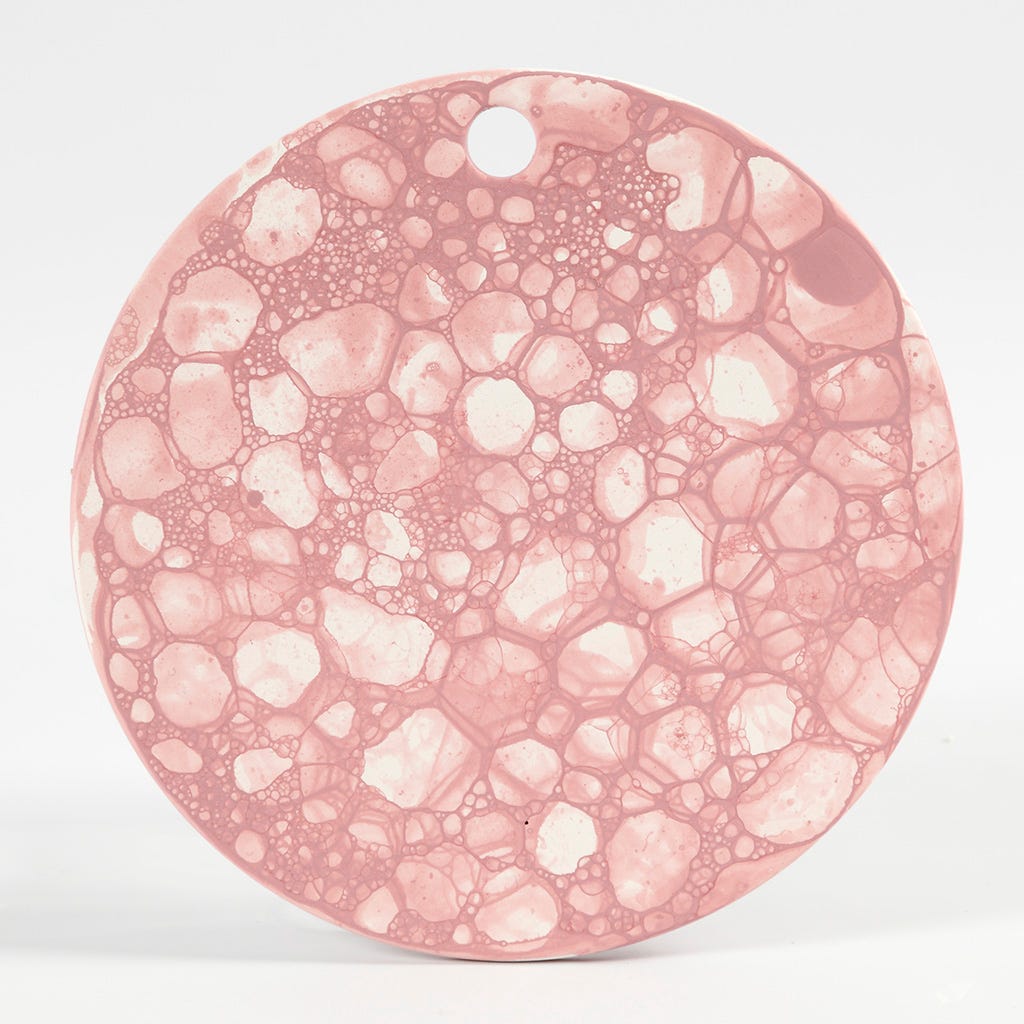
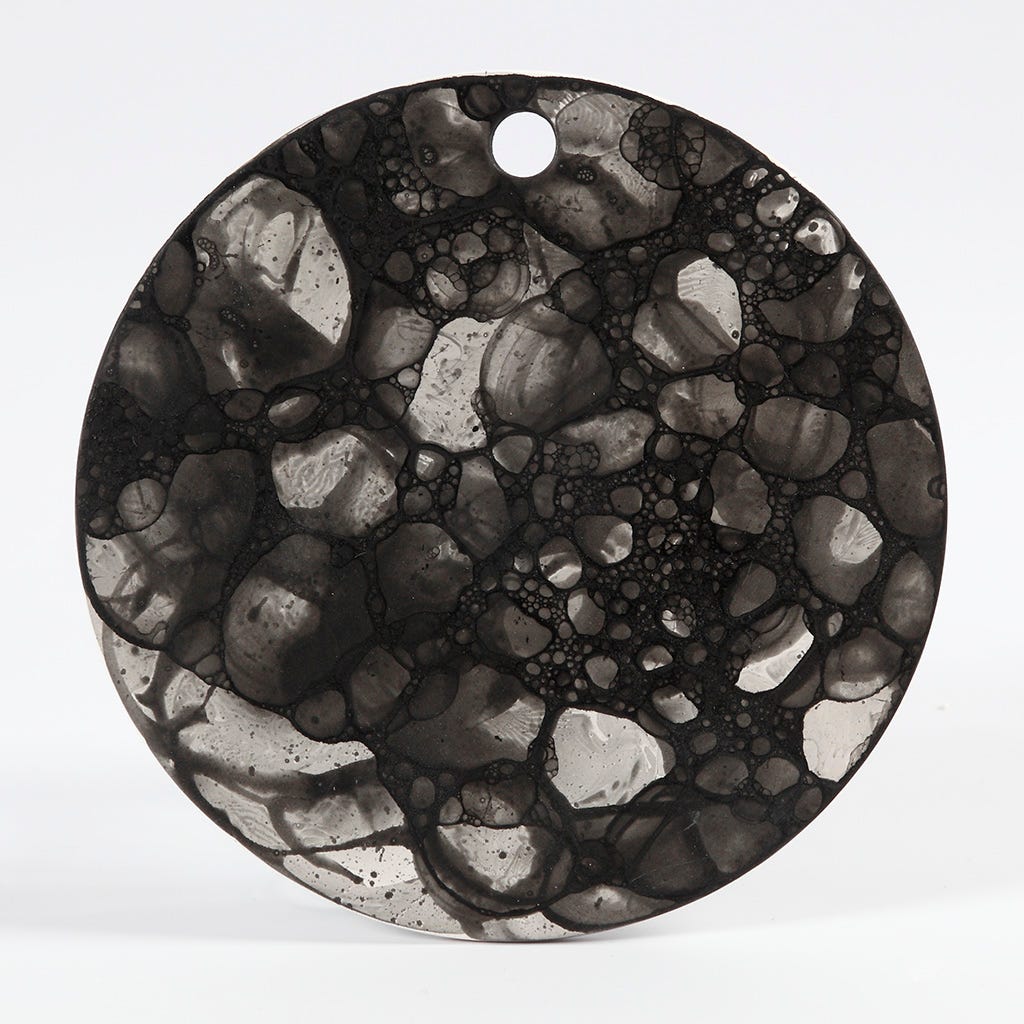
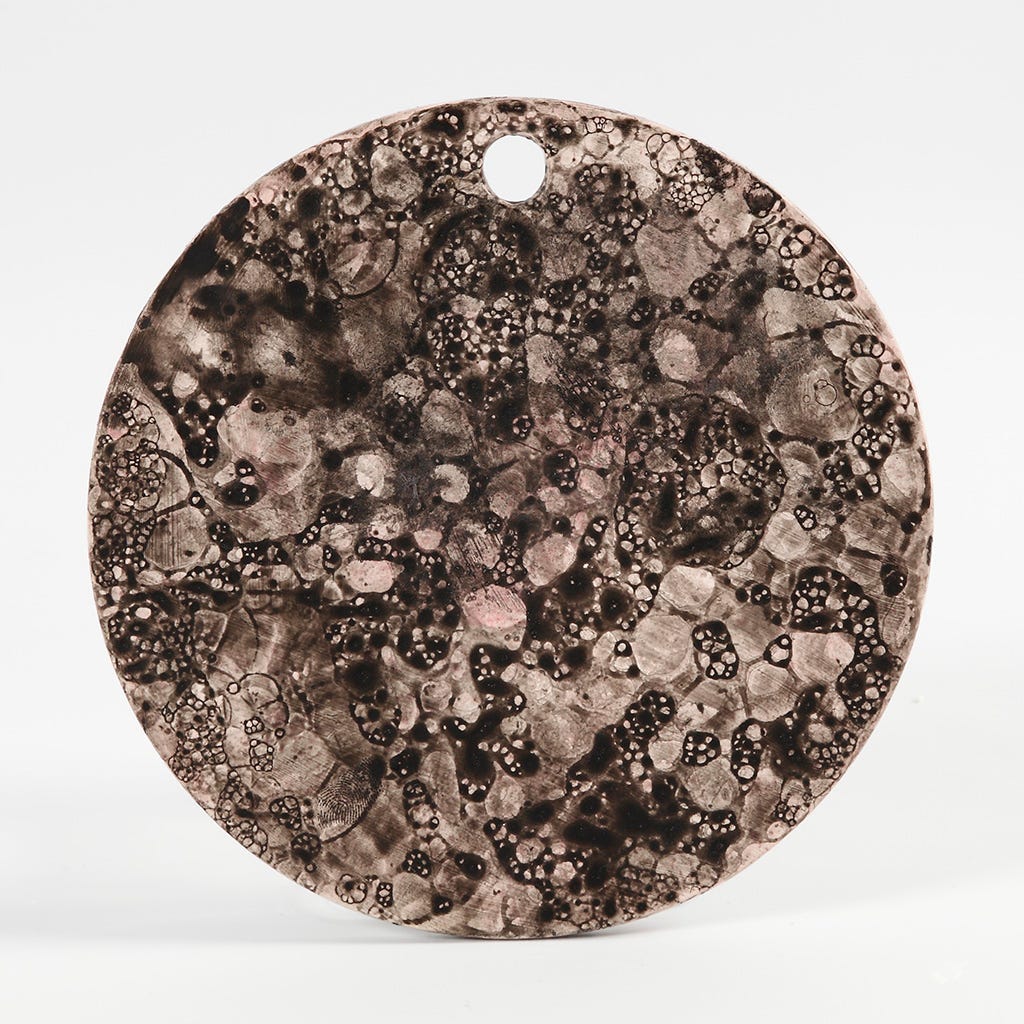
Une assiette en argile autodurcissante décorée selon la technique des bulles de savon
#v15958
Confectionnez vos propres assiettes en utilisant de l'argile autodurcissante blanche. Décorez l'assiette avec de la peinture acrylique Plus Color mélangée à de l'eau et du liquide vaisselle. Soufflez le mélange avec une paille pour faire des bulles et soufflez-les sur l'assiette.
#v15958
Comment faire Téléchargez nos instructions étape par étape
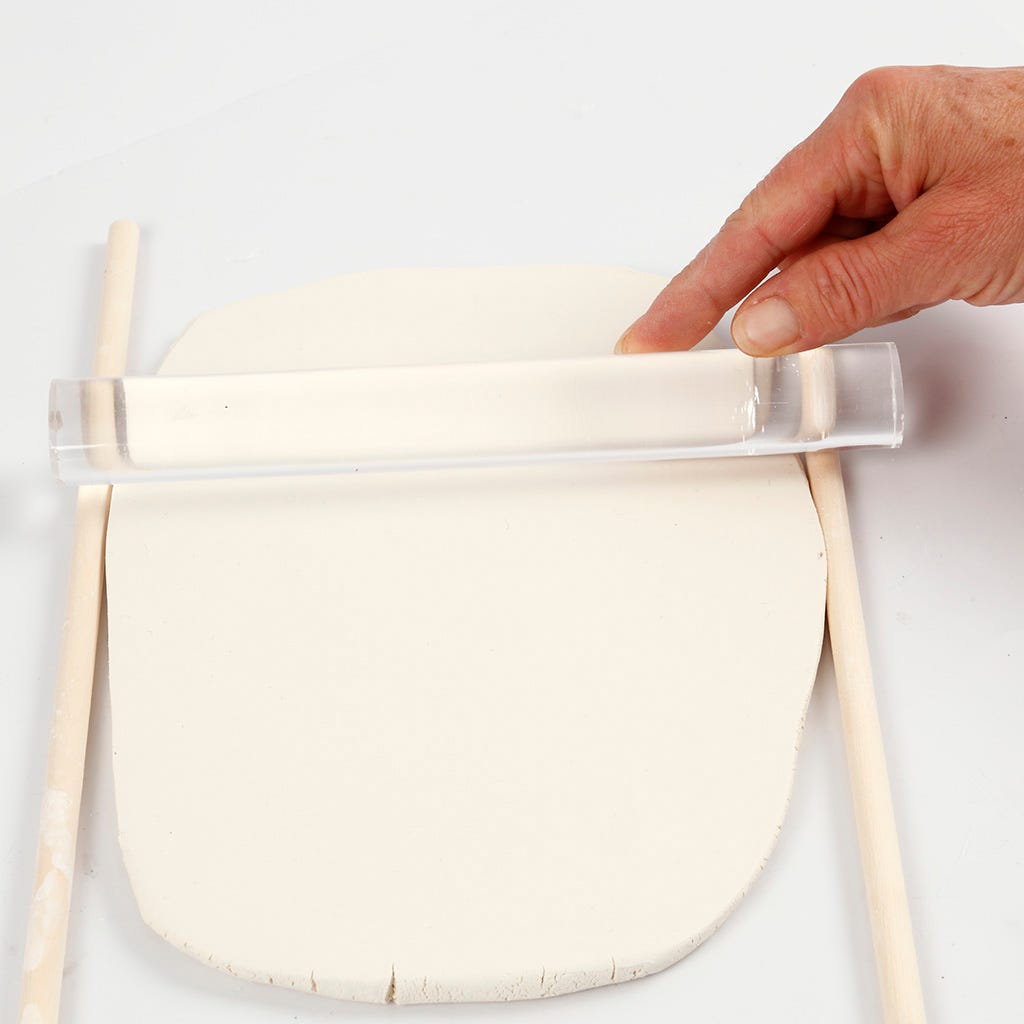
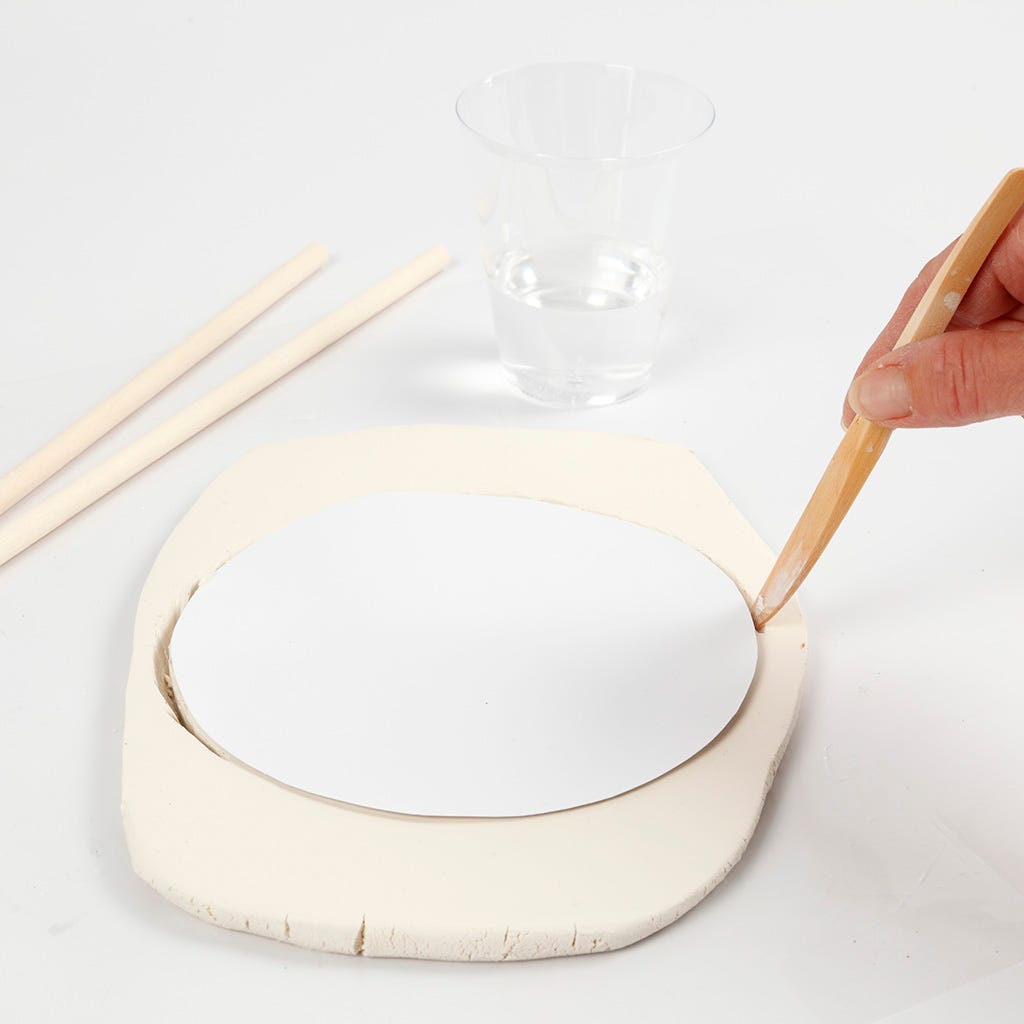
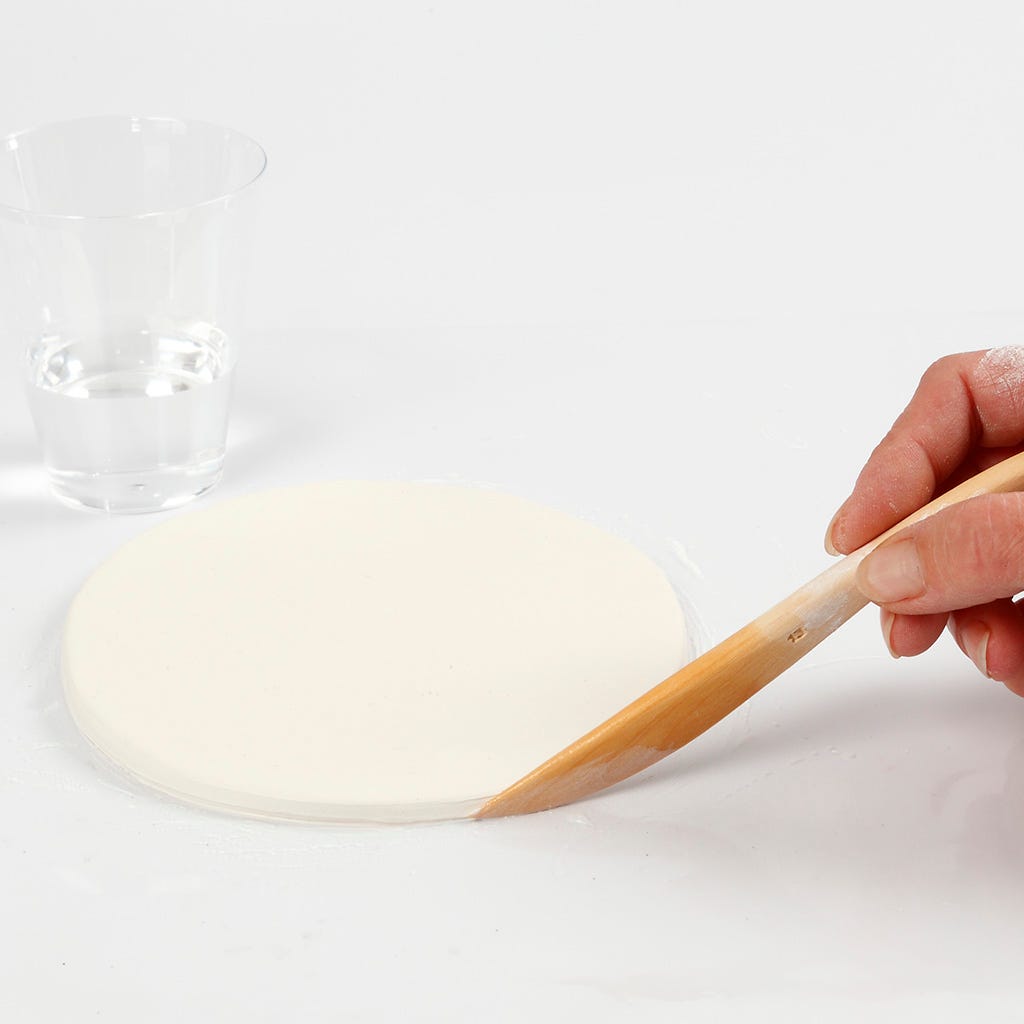
1 Etalez l'argile à l'aide de deux bâtons en bois ronds de 8 mm de diamètre pour obtenir un assiette d'épaisseur homogène (soit 8 mm). L'assiette doit avec une épaisseur de 7 mm min.
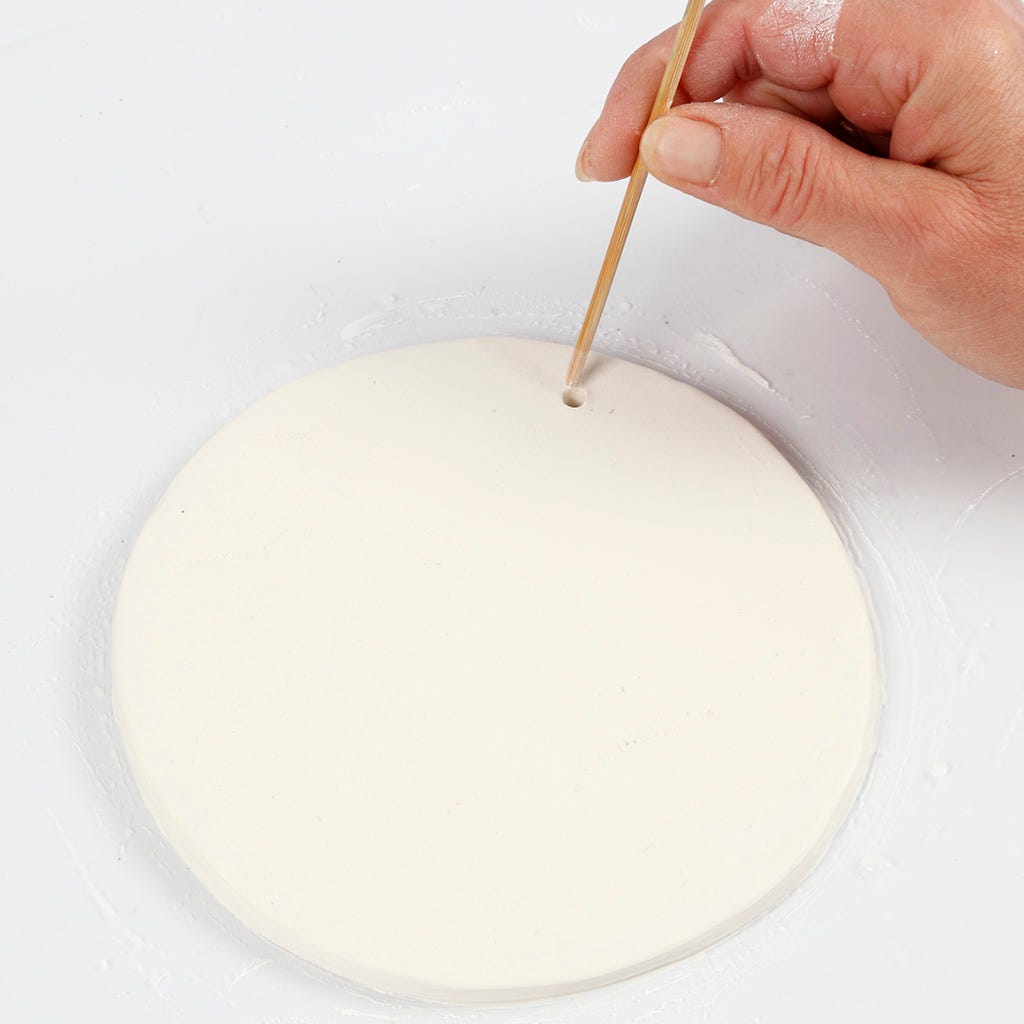
5 Make a hole for hanging and leave to dry. Turn the plate over a couple of times whilst drying. Drying time is approx. 48 hours depending on the room temperature. You may place it near a radiator for drying.
A tip: If small cracks appear in the clay once dry, you can repair these by mixing a small amount of clay with a bit of water to form a creamy consistency. Fill the cracks with the mixture, preferably with a brush. Leave to dry. Any uneven areas on the plate can be sanded smooth with a sanding sponge or with fine sandpaper.

6 Bubble technique:
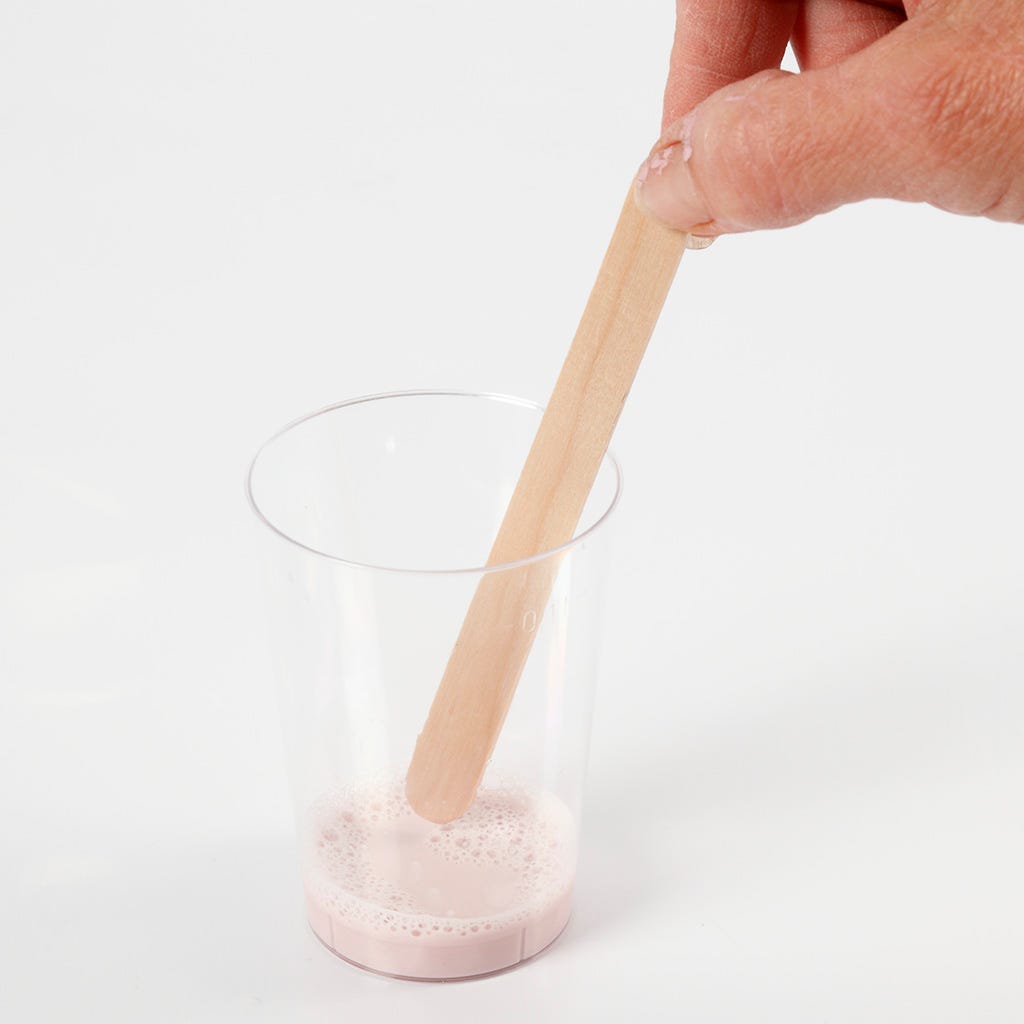
Mix 1 part washing up liquid with 2 parts water and a couple of drops of Plus Color craft paint.
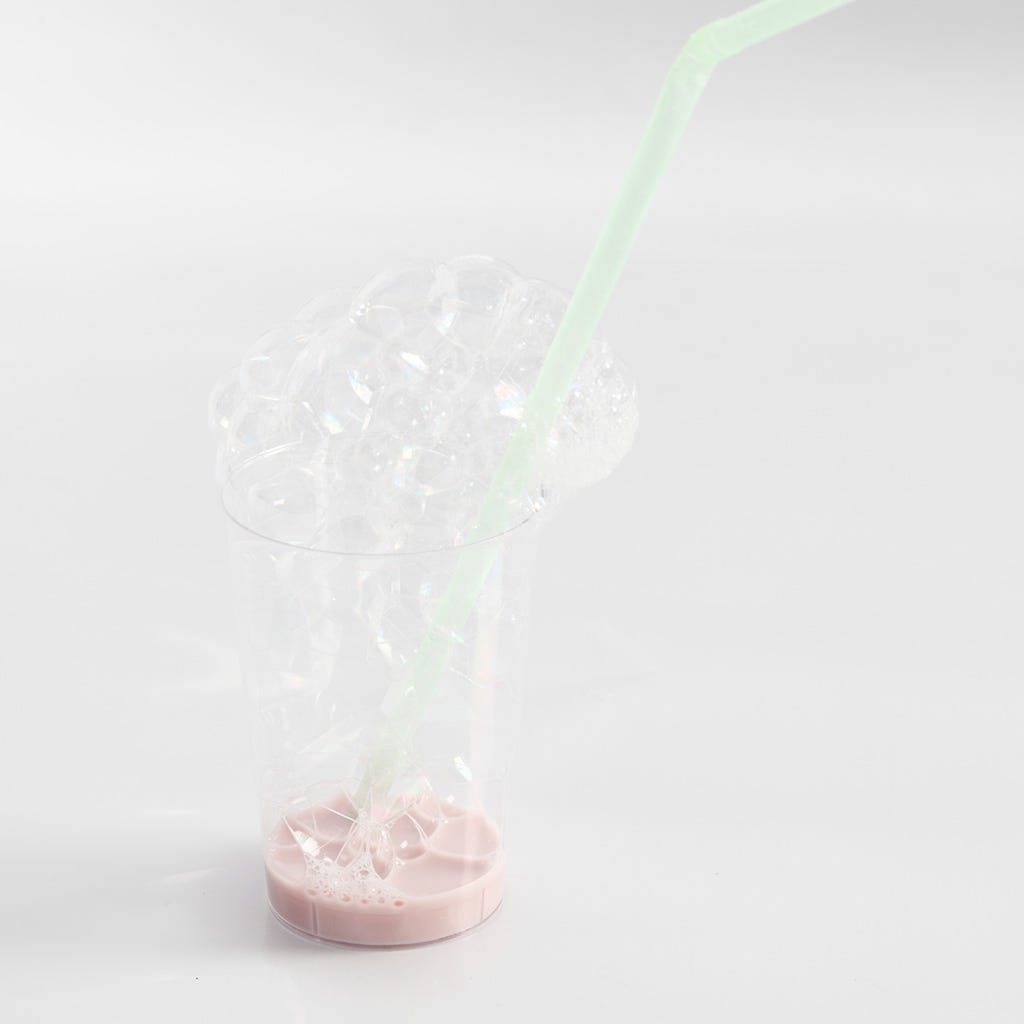
8 Blow into the mixture with a straw. The mixture needs to bubble a lot. Practice the technique and check if the mixture bubbles sufficiently. Too much paint in the mixture may reduce the amount of bubbles. Make a couple of bubble tests with the straw, for example onto a piece of card, before blowing the mixture onto the plate. You may blow more bubbles onto the plate when the first layer is dry.
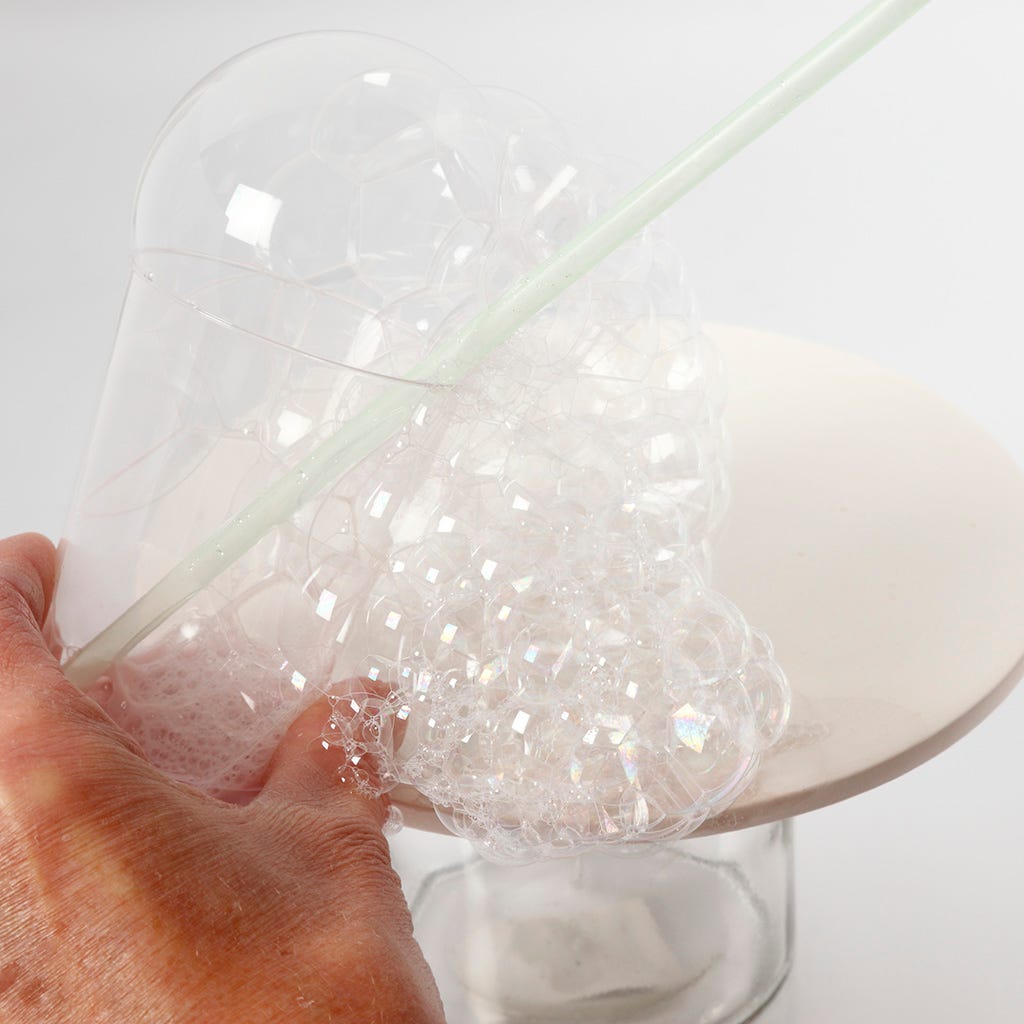
9 Raise the plate, for example on a glass. Blow lots and lots of bubbles onto the plate. Avoid tipping the glass when blowing bubbles. It is important that only bubbles fall onto the plate.
Allez aussi explorer dans

