Creatieve ideeën
Afrikaanse tribal maskers
#v11180
De Afrikaanse maskers zijn gemodelleerd met gipsgaas op een volledig gezichtsmasker van papier-mâché, vervolgens geverfd met Plus Color acrylverf en gedecoreerd met Afrikaanse kralenmix en goudkleurig bonsai draad.
#v11180
Hoe werkt het
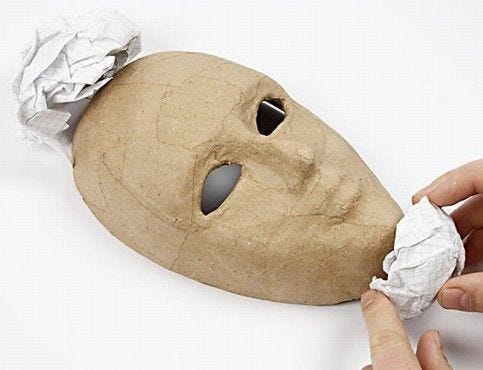
1 Start by crumpling up a few pieces of paper and put them where you want to increase the size of the mask.
Here it is the top of the head and the chin.

2 Dip the pieces of plaster bandage in water and model them onto the crumpled paper and mask.
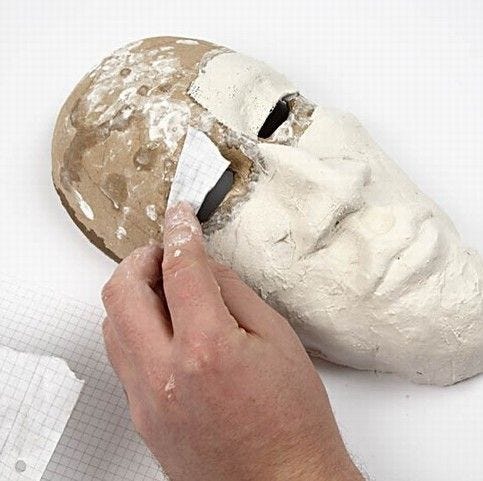
3 Along the way, place small pieces of paper where it may be necessary to support the plaster bandage.
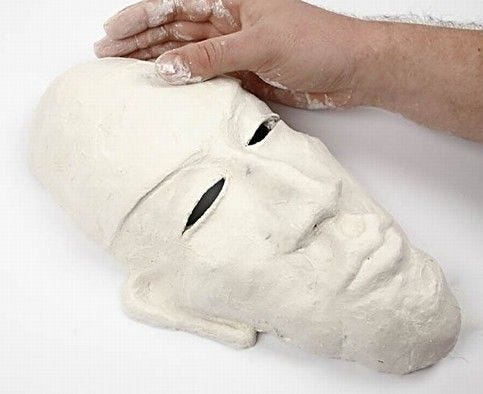
4 Cover the mask completely with plaster bandage and smooth it out.
Note that the plaster stiffens reasonably quickly, but takes 1-2 days to dry completely.
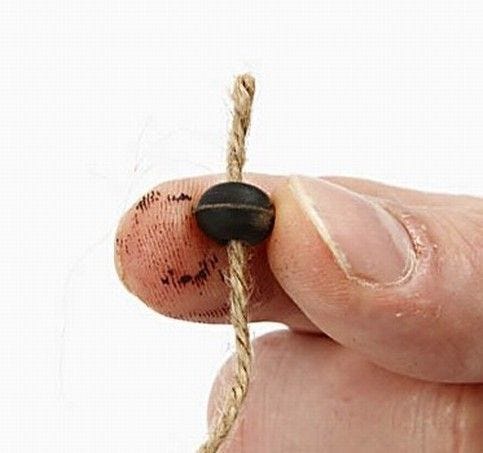
5 Whilst the mask dries, some of the waiting time may be used to make some hair for the mask.
Cut natural twine at a length of 35-50cm and pull on a bead.
Make 3-5 pieces depending on how much hair you want.

6 Tie a knot around the bead, so it locks at one end of the twine as a "stopper".

7 Cut off the short end at the knot.

8 Make a "bead" by twisting Bonsai wire around an object for example: a brush handle.

9 Pull the Bonsai "bead" onto the twine, hiding the knot.

10 Pull beads onto the twine until the desired length is achieved, about 30-40cm.
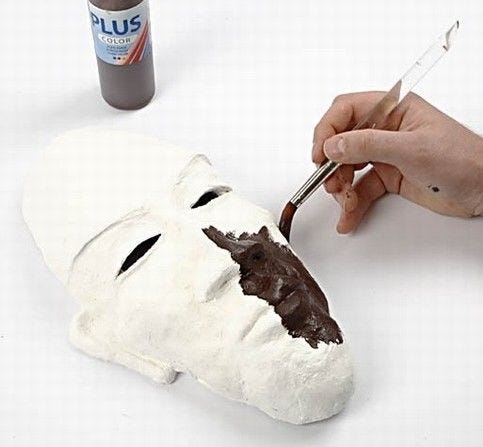
11 Once the mask has dried after a day or two, it's time to paint it.
Here it is primed with Plus Color.

12 Paint on the face paint.
Do not do it too thoroughly. It should look a little smudged.

13 Finish the painting with a few details.
For example, white dots.
14 When the mask is painted and has dried,
make a small hole of about 2-3mm at the top of the mask to attach hair.

15 Pull the twines with beads through one of the large flat beads to gather the "hair" in a bunch.

16 Pull the twines through the hole in the mask and pull on another large bead onto the back of the mask.

17 Tie a knot or two on the back to fasten the hair.

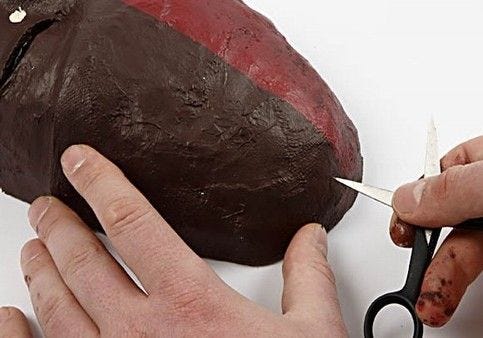
18 Now cut a hole in the top of papier-mâché mask on the back.

19 Attach a string through the hole for hanging.

20 Use glue gun to attach an earring bent in Bonsai wire.

21 The finished mask.

Variant of the mask This variant of the mask is made without hair and with more marked face painting.
The possibilities are endless!
Kijk ook bij